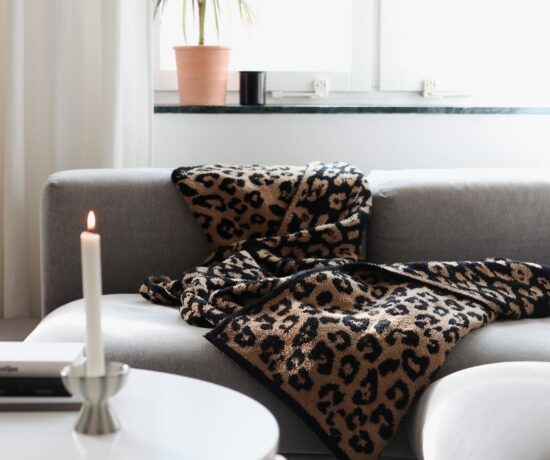
Hello, my eco-conscious friends! Today, I’m bubbling with excitement to dive into a topic that marries two of my greatest passions – sustainability and the art of DIY. Let’s talk about creating your very own eco-friendly room sprays. Imagine transforming your home into a natural sanctuary, filled with scents that are as nurturing to the planet as they are to your soul. Ready to embark on this aromatic adventure? Let’s get started!
Why DIY?
Before we jump into the ‘how’, let’s talk about the ‘why’. Making your own room sprays is incredibly rewarding. It gives you complete control over the ingredients, ensuring that you’re not spraying anything harmful into your beloved space. Plus, it’s a fun, creative process that lets you tailor scents to your mood and preference. And let’s not forget the environmental benefits – less plastic waste, no harmful aerosols, and a happy, healthy planet.
Gathering Nature’s Goodies: What You’ll Need
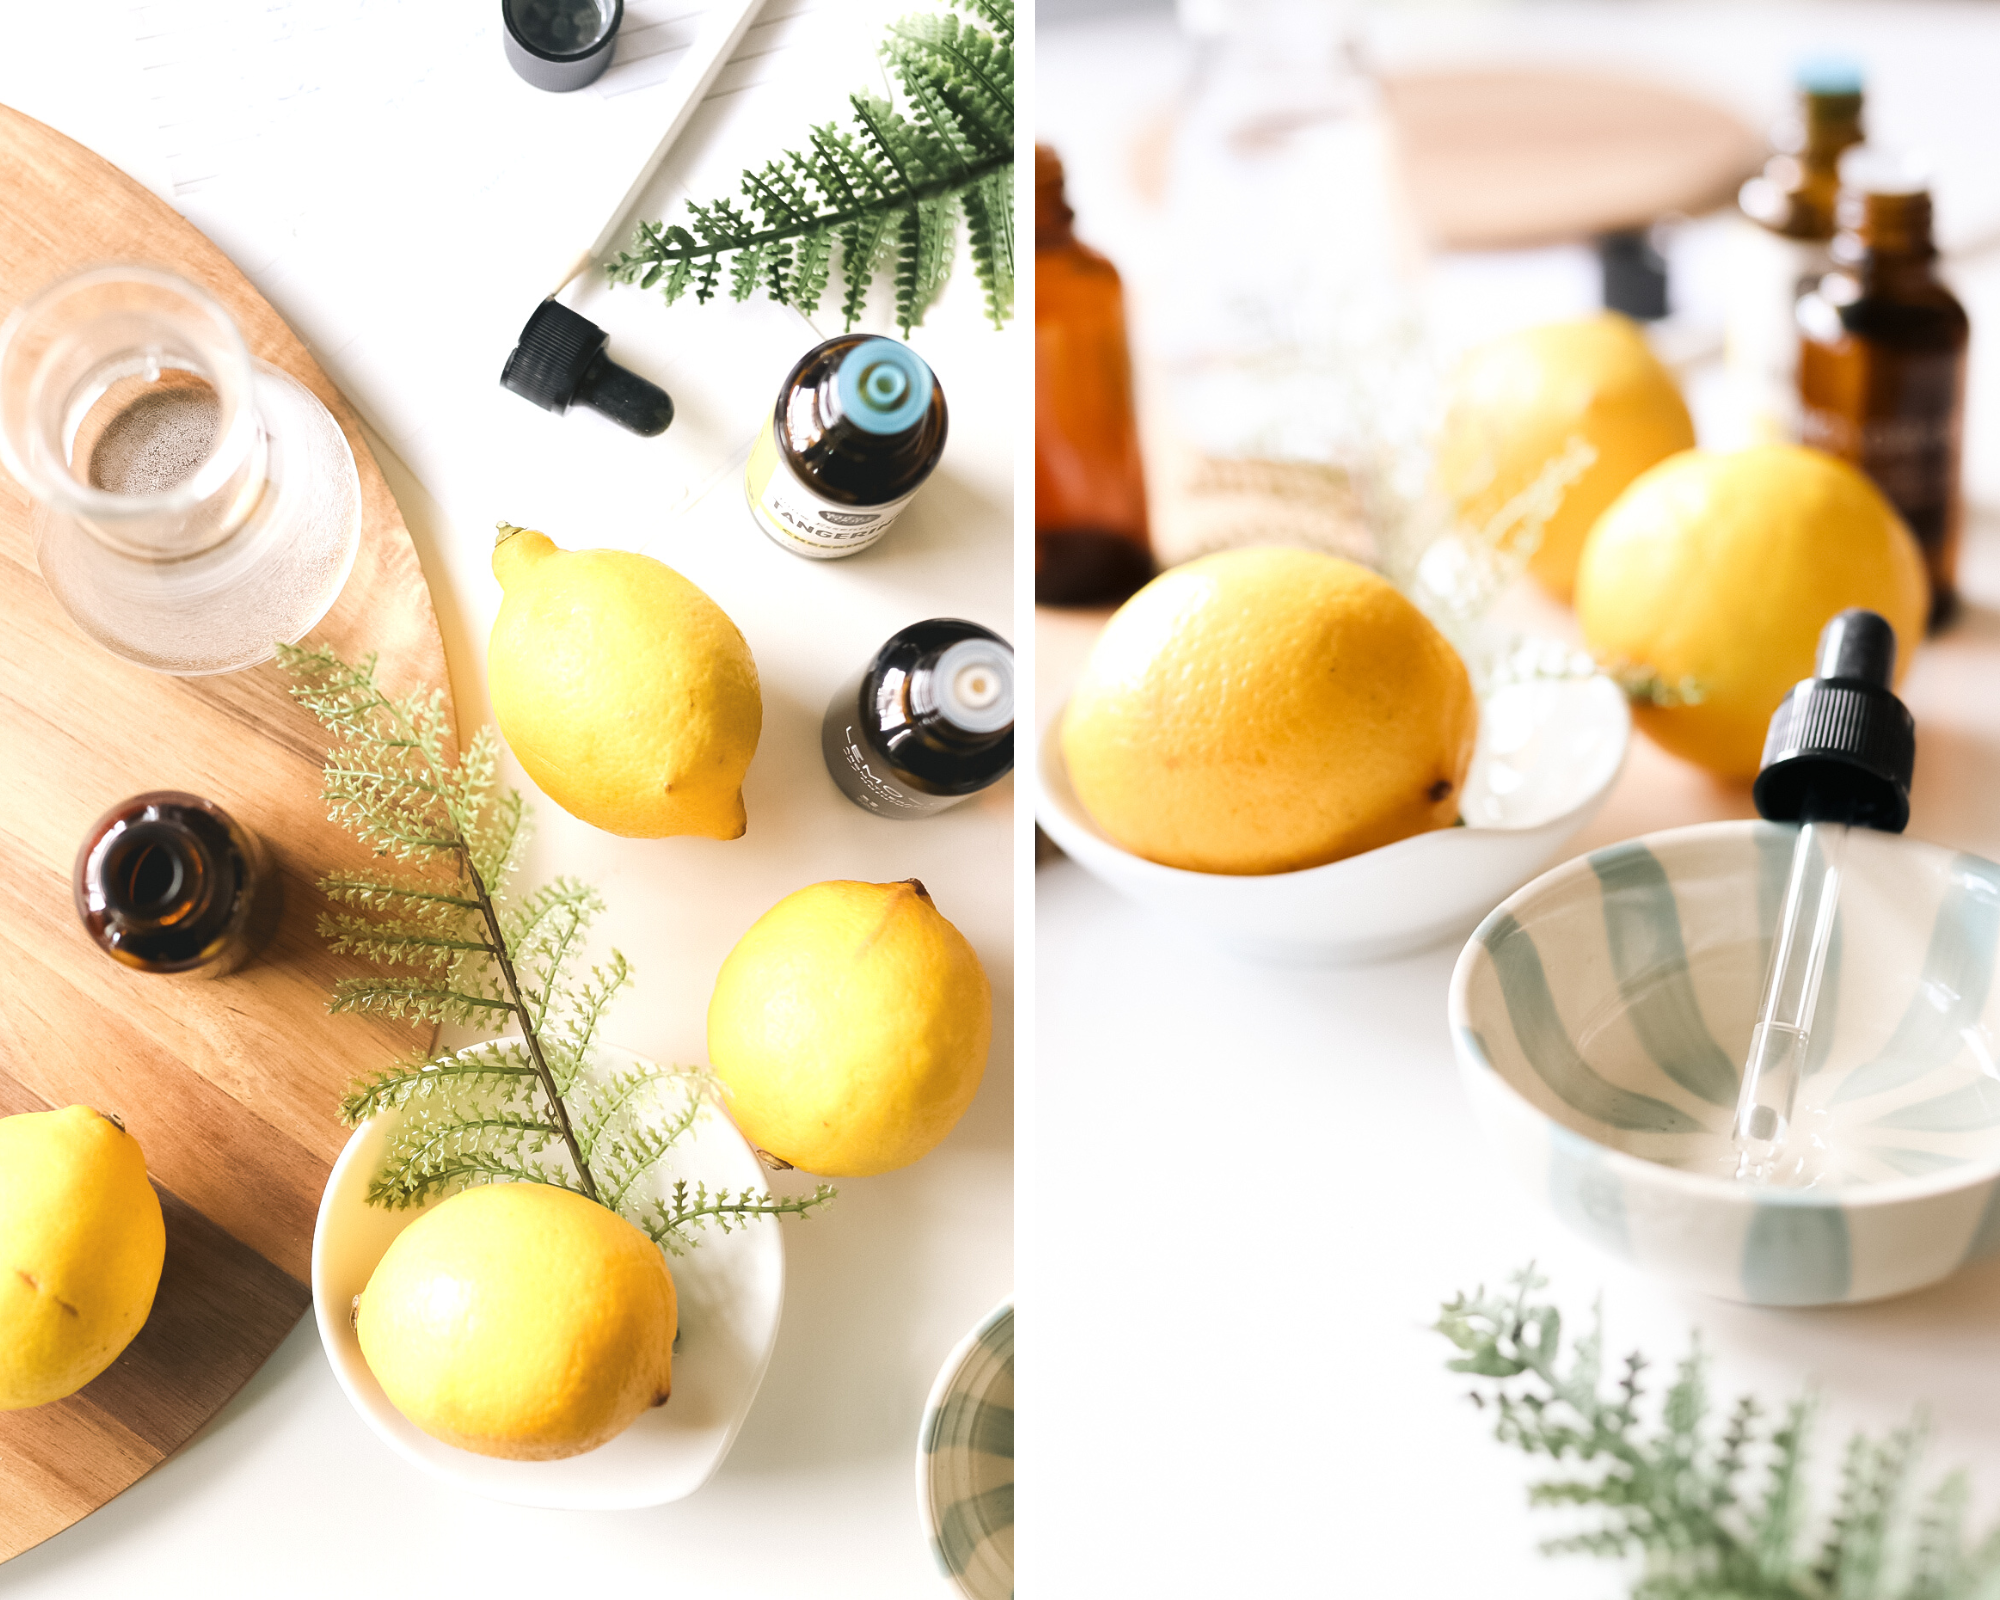
The beauty of DIY room sprays is in their simplicity. Here’s what you’ll need to start your natural fragrance journey:
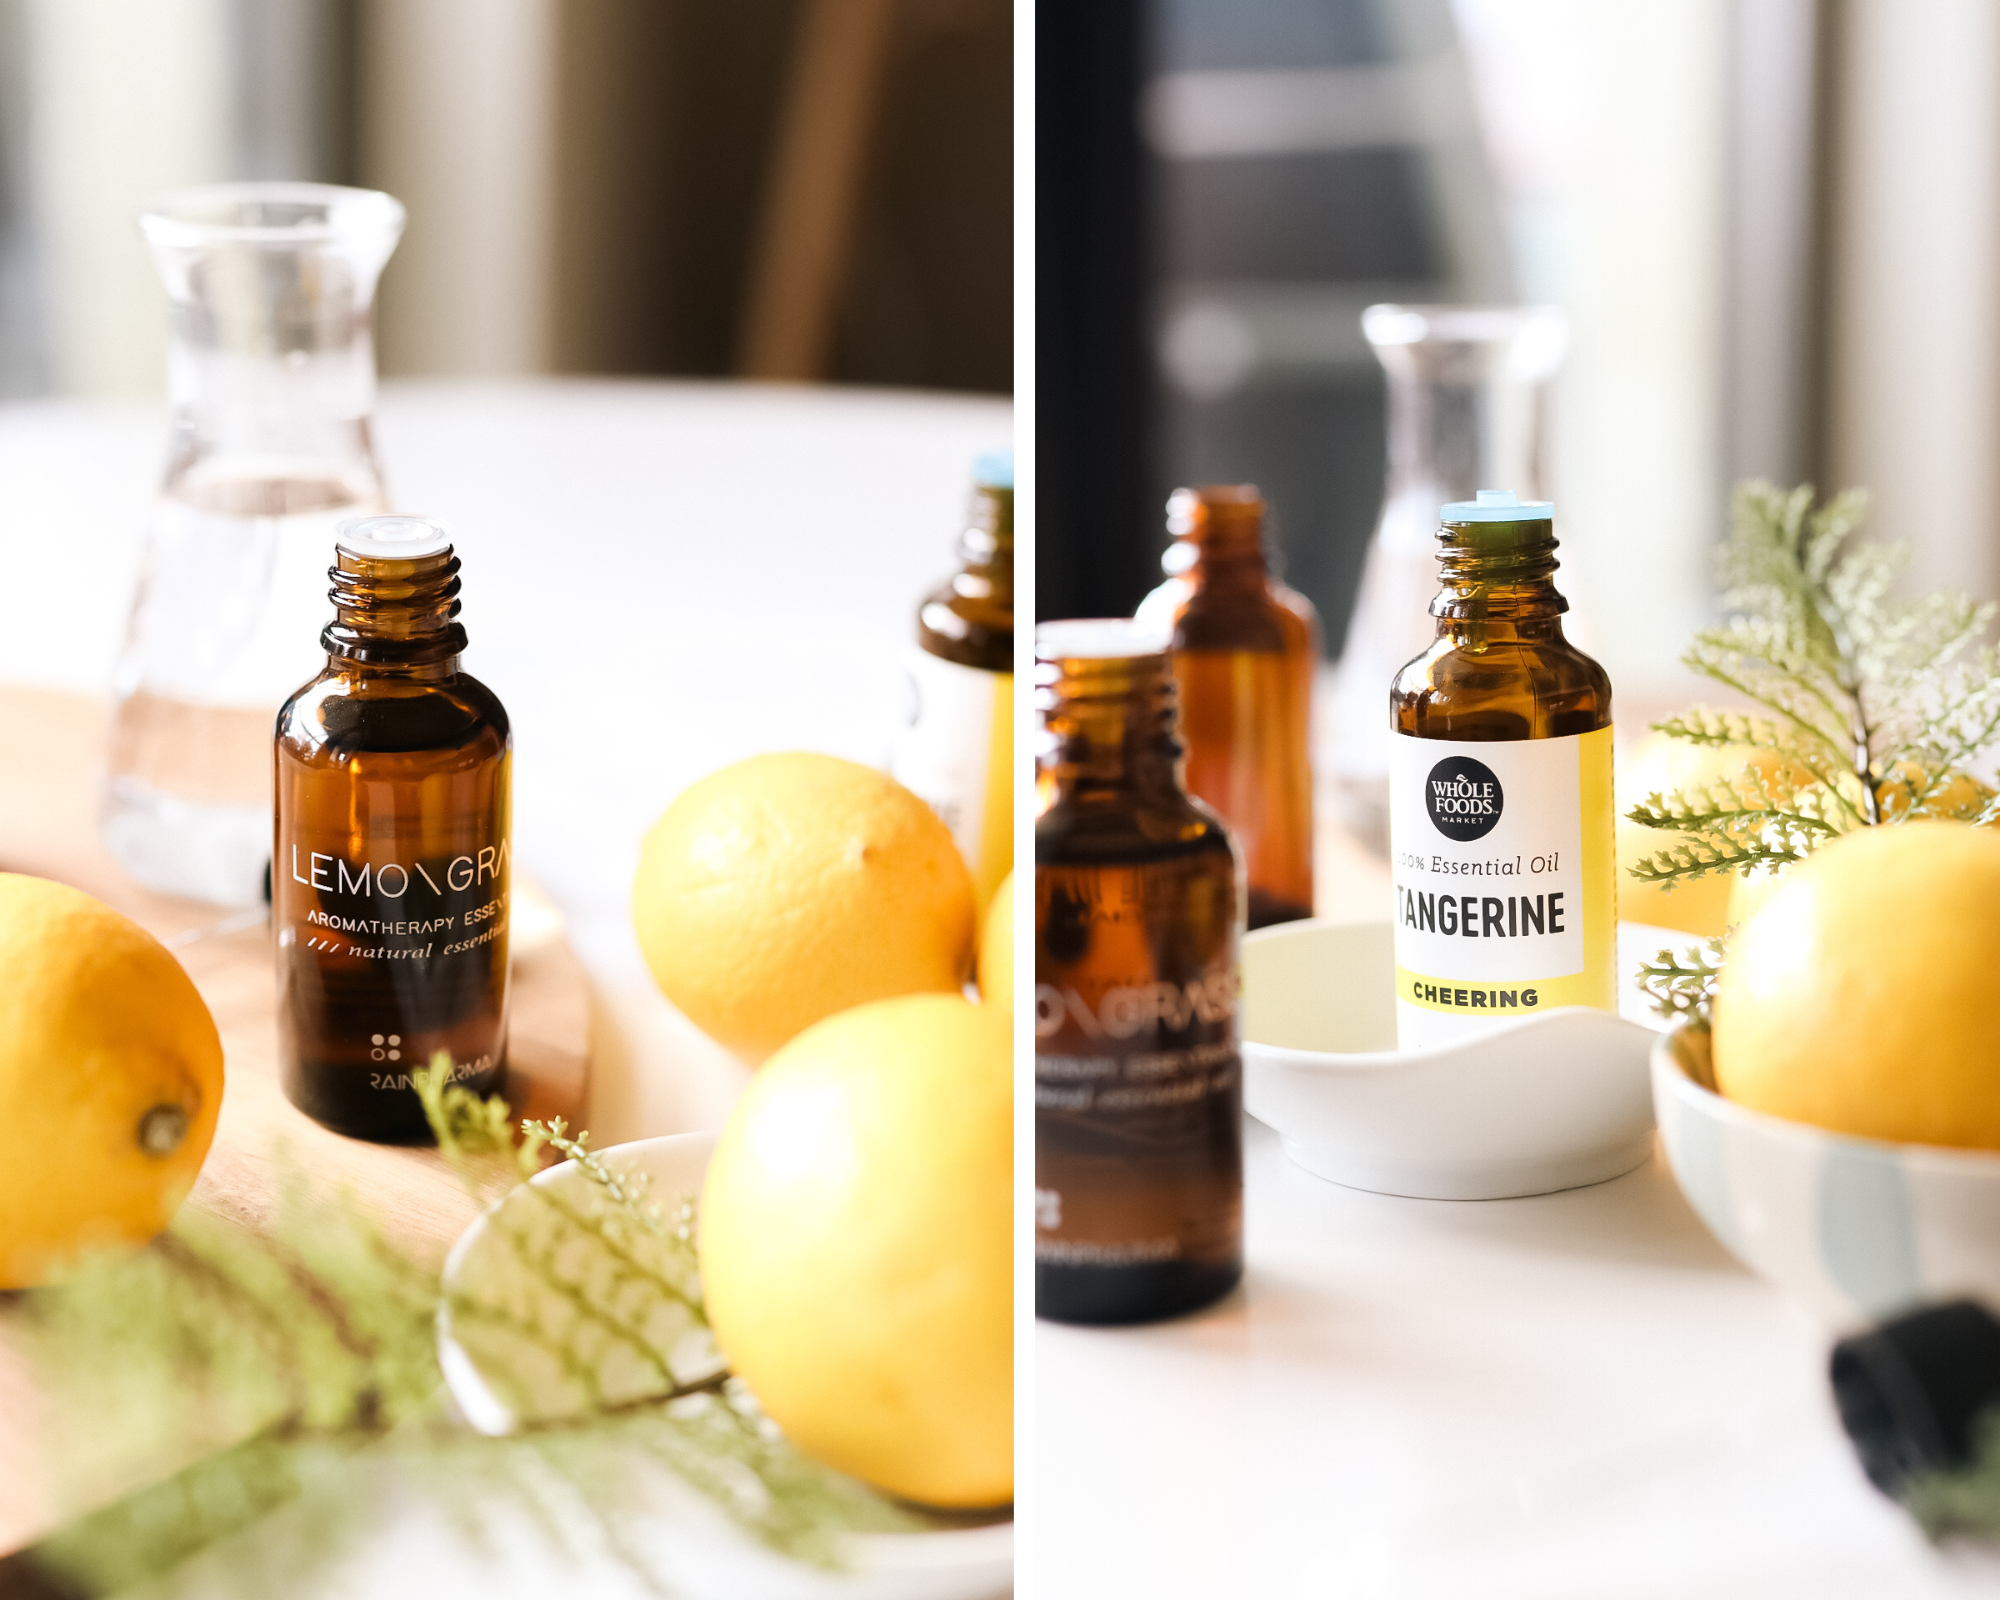
- Essential Oils: The soul of your spray. Choose from a wide range like lavender for relaxation, citrus for an uplifting vibe, or peppermint for a refreshing feel. Mix and match to create your signature scent.
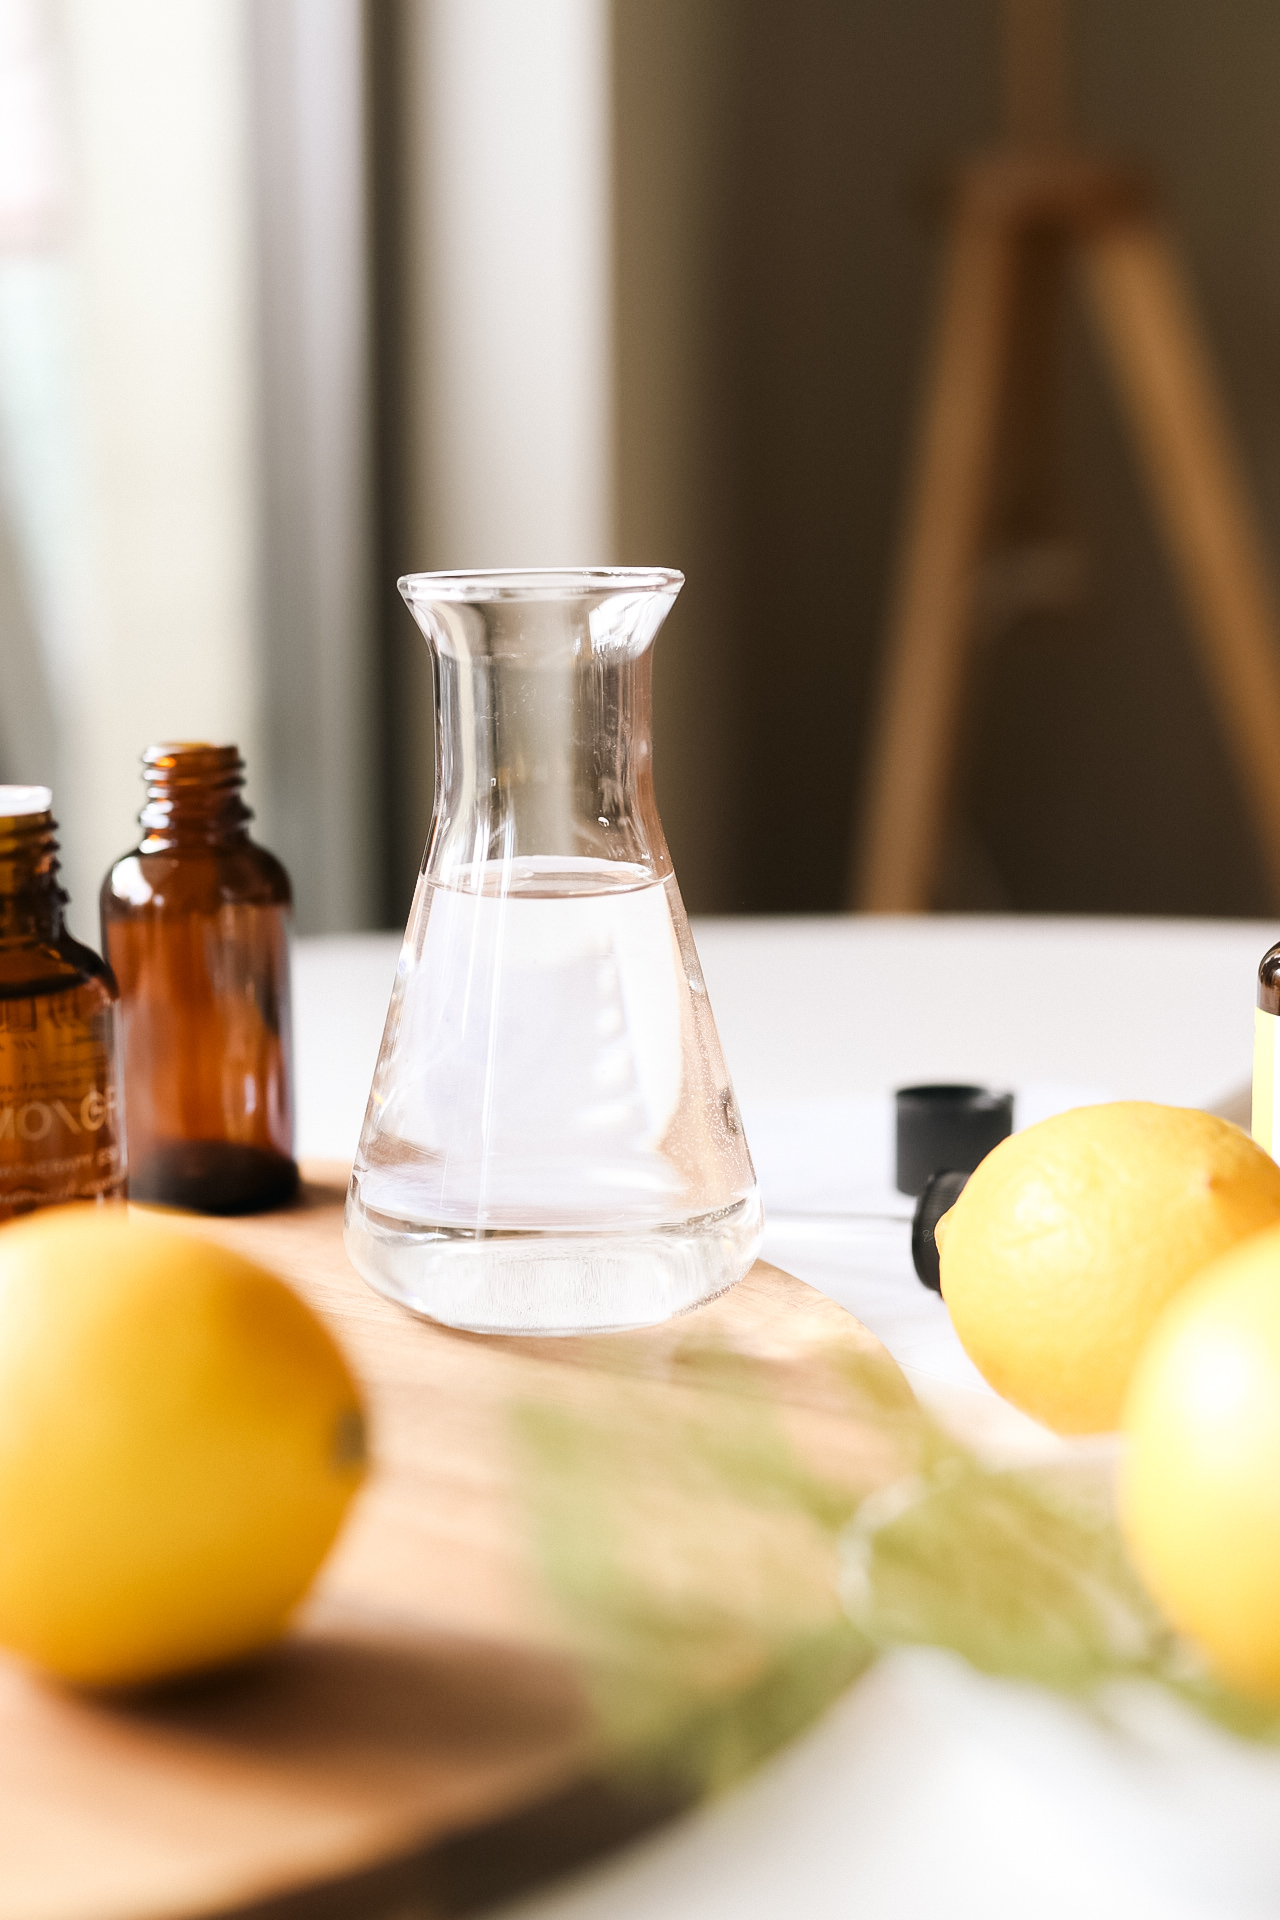
- Distilled Water: The base of your spray. It’s pure and free from impurities that could interfere with your blend.
- Witch Hazel or Alcohol: This acts as a dispersant for the oils in water. It helps the scent linger longer in the air.
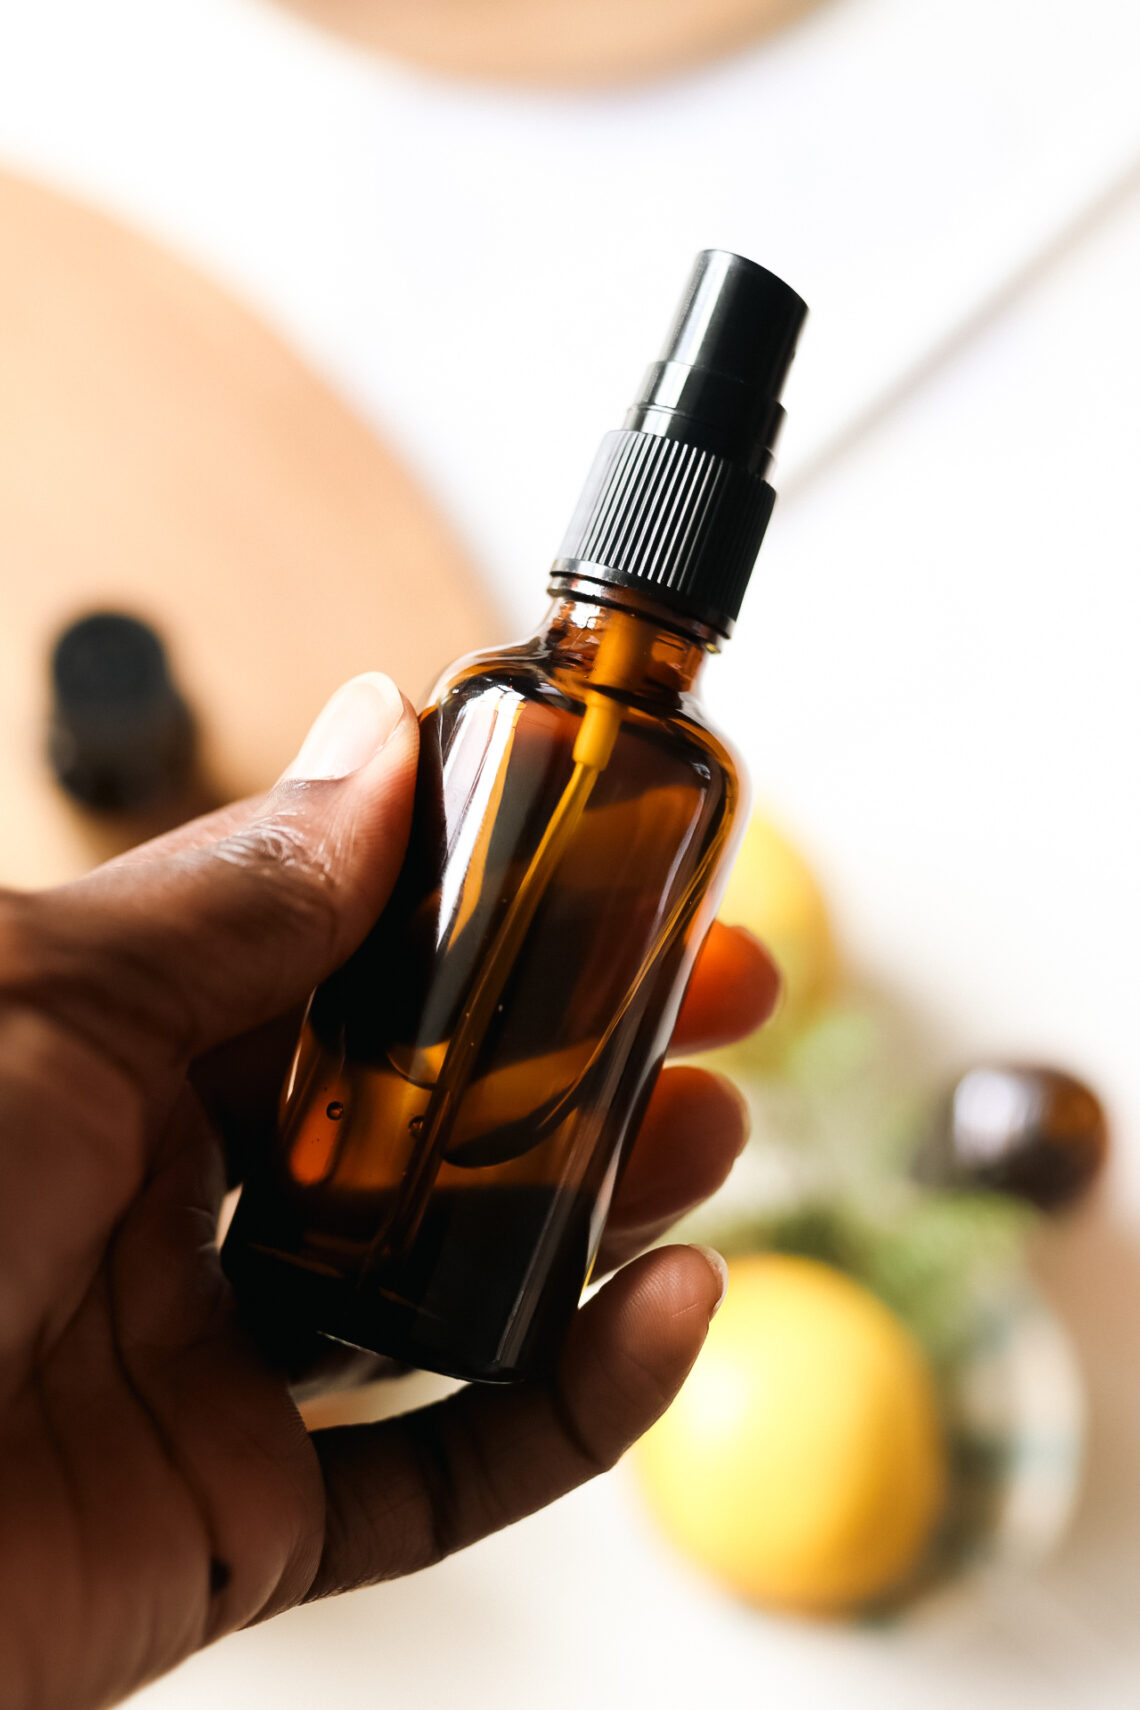
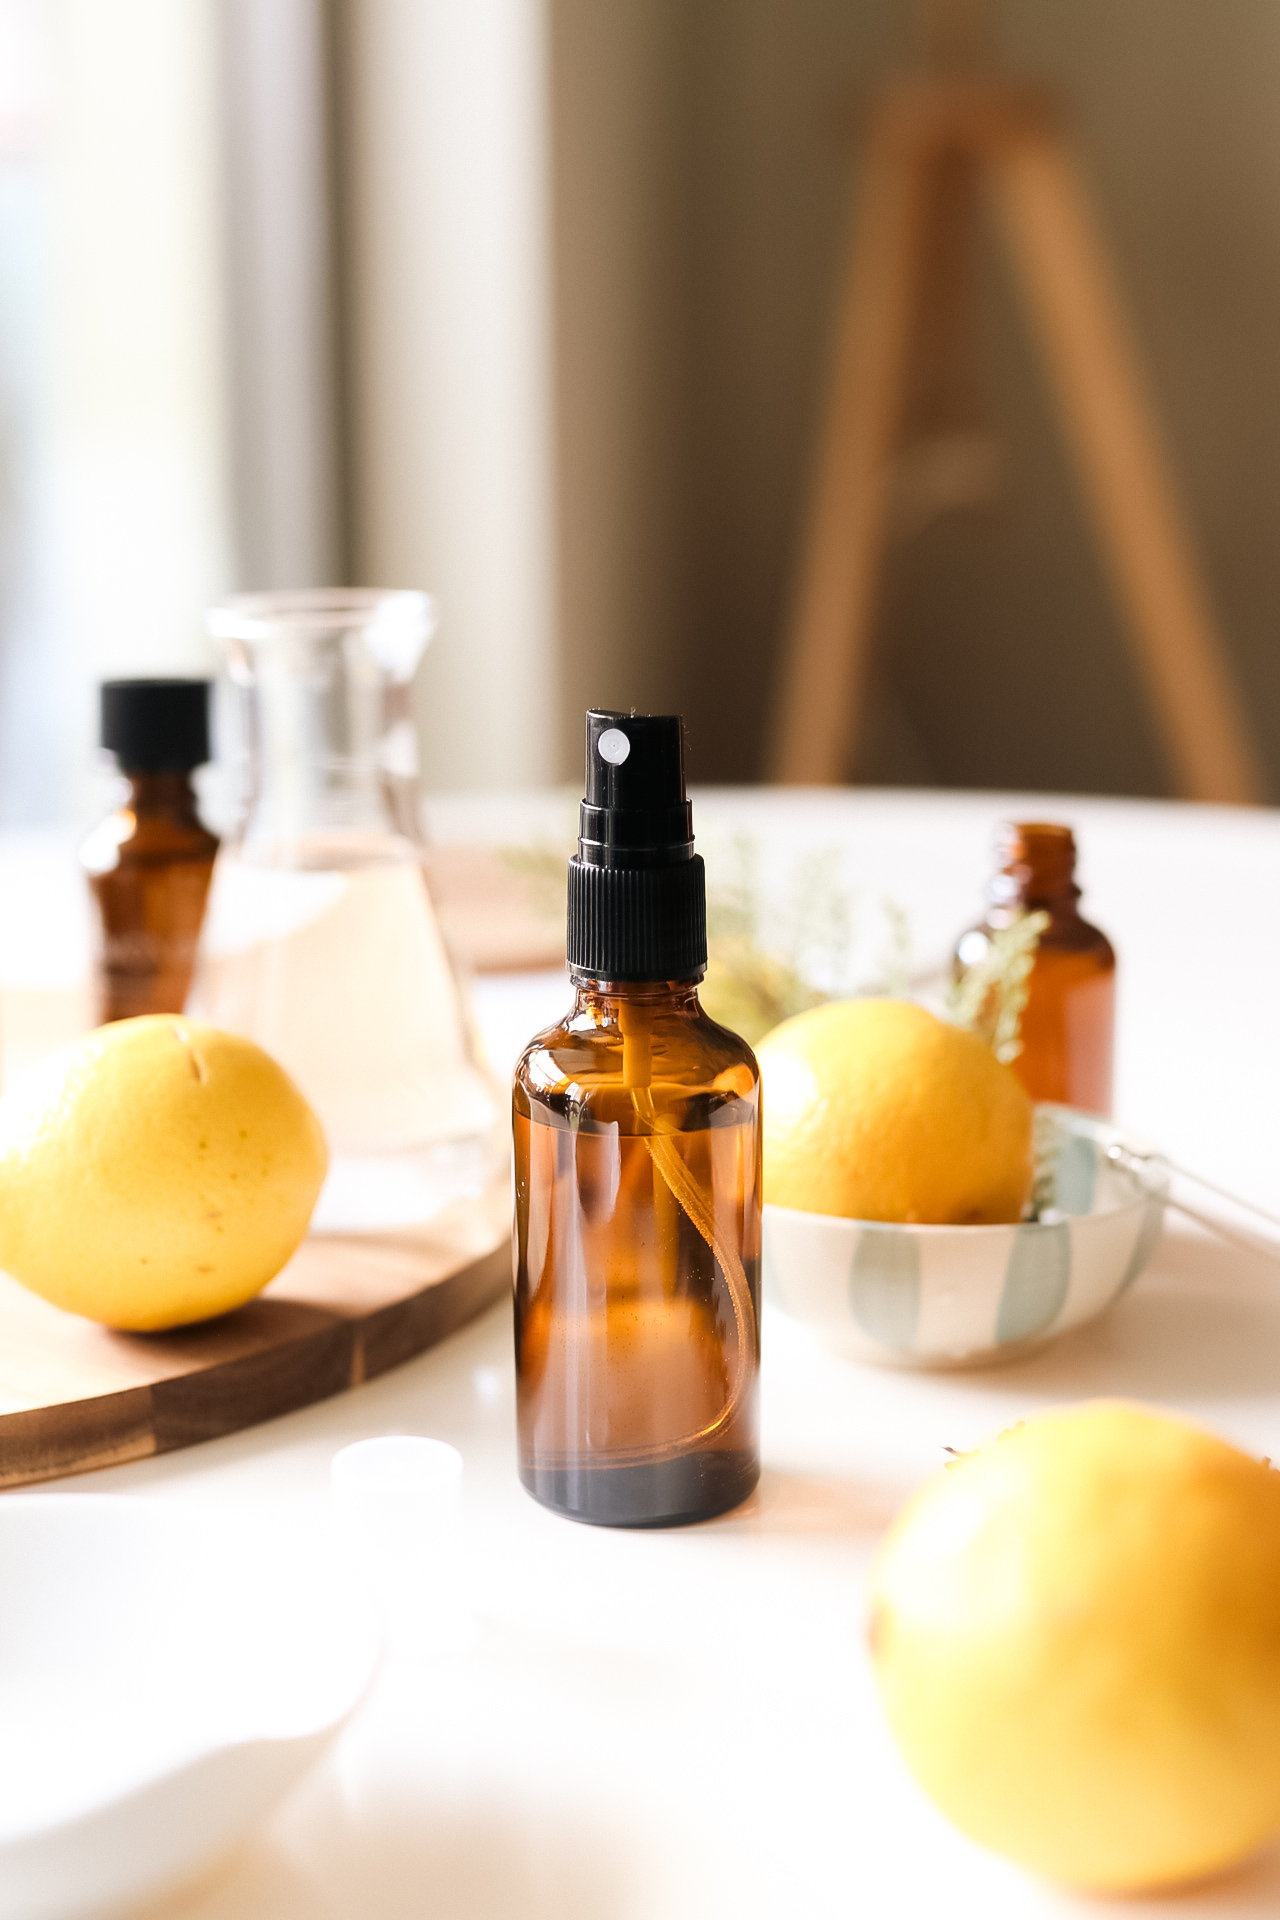
- A Spray Bottle: Preferably glass, as some essential oils can degrade plastic over time.
The Alchemy Begins: Crafting Your Spray
Now, for the enchanting part – creating your spray. Follow these simple steps:
- Choose Your Scents: Start with about 20-30 drops of essential oils for a 4 oz bottle. For beginners, sticking to three or fewer oils is a good rule of thumb to avoid overwhelming combinations.
- Mix with Witch Hazel or Alcohol: Add about 1 tablespoon of witch hazel or alcohol to your bottle. This helps the oil and water blend more effectively.
- Add Distilled Water: Fill the rest of the bottle with distilled water. Leave a little space at the top to shake the mixture.
- Shake and Test: Give it a good shake to blend all the ingredients. Spritz in the air to test the scent. Feel free to adjust the oils to suit your preference.
- Label and Decorate: Add a label with the date and scent blend. Get creative with decorations to make your bottle as unique as its contents.
Tips and Tricks for the Perfect Blend
- Balance Your Scents: Typically, use a mix of top notes (citrusy, light), middle notes (floral, herby), and base notes (woody, earthy) for a well-rounded fragrance.
- Less is More: Start with fewer drops of oil. You can always add more, but you can’t take them out.
- Shake Before Use: Essential oil and water separate, so give your bottle a shake before each use.
- Patch Test: If you plan to spray on fabrics, do a patch test first to ensure it doesn’t stain.
Remember, making your own room spray is as much about the journey as it is about the destination. Experiment with different scents, adjust the concentrations, and have fun with it. Each spray you create is a reflection of your personality and your care for the environment.
A Spritz of Joy
As I sit here in my own home, surrounded by the fresh scent of my latest creation – a blend of lemongrass and tangerine – I’m reminded of the simple joys of DIY. Each spray is a small step towards a more sustainable lifestyle, a testament to the power of natural living.
So, my dear readers, I encourage you to roll up your sleeves and start experimenting. The world of DIY eco-friendly room sprays is rich with possibilities, just waiting for your personal touch. Happy crafting, and may your homes always be filled with the delightful scents of nature!